Content Table
The content table consists of the following tabs:
- Channel
- Video
- Series
- Show
- Shop item
- News
- App
Categories
The content in each tab can be organised into categories. To add a category, go to the tab you want in the ‘Content’ section and click ‘Create Category’. This will open a category creation window that you will need to fill out:
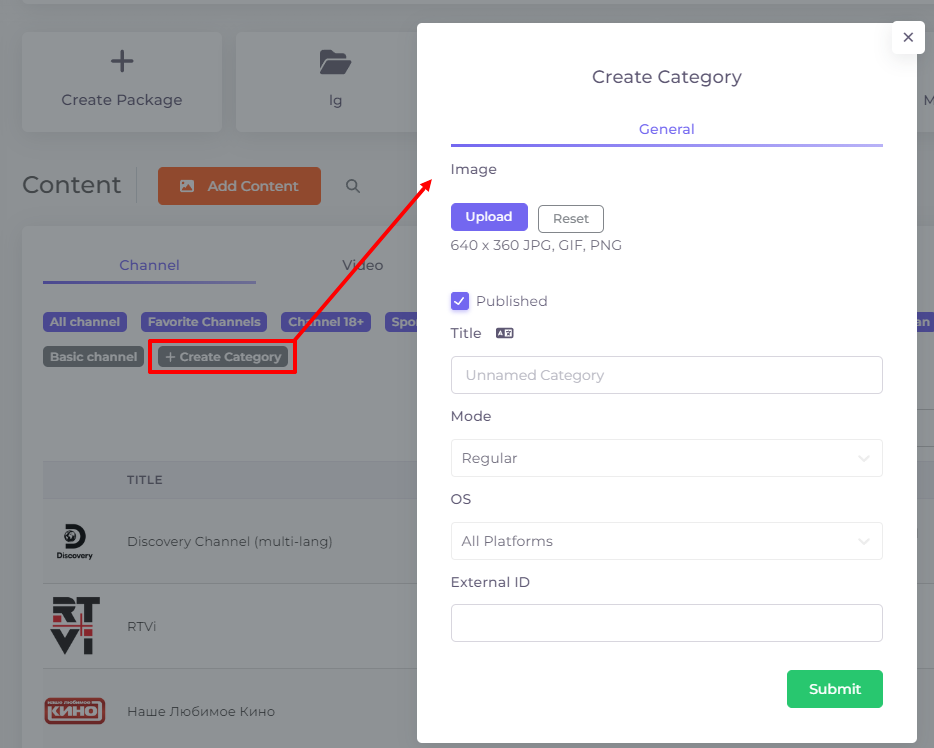
The 'Image' will be the category logo. To add it, press ‘Upload’.
The ‘Reset’ button works in the editing mode - it allows you to delete the uploaded image.
The ‘Published’ checkbox is set by default. If it is unchecked, the category will be inactive and will not appear to subscribers.
Unpublished categories are shown in grey:

Title - the name of the category.
Mode (for channels and media content only) - will affect the content of the category for subscribers.
In Regular mode, content in the category is added manually when adding/editing an individual content title. In other modes the content in the category is organised automatically according to the following principles:
For channels:
- Latest - the list is formed from all channels sorted by date of addition to the portal, from new to old.
- Favourites - a list of movies that the user has added to his/her favourites list.
For videos, series, shows:
- Most rated - the list is formed from all content, from the most rated films on the portal
- Continue watching - the list contains films that the user started to watch but did not finish watching. After the user finishes watching the film, it is removed from this category.
- Purchased - list of films that the user has purchased as a single purchase (separate from the plan).
- Recommended - a list of films sorted according to the user's preferences.
- Favorites - list of movies that the user has added to his/her favourites list
- Latest - the list is formed from all content sorted by date of addition to the portal, from new to old.
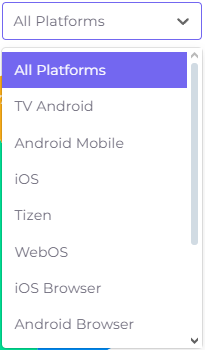
Below you can select the operating system if the category is only for certain platforms.
The ‘External ID’ field is filled in automatically if the category was added via import.
Once all settings are complete, click  to save the category.
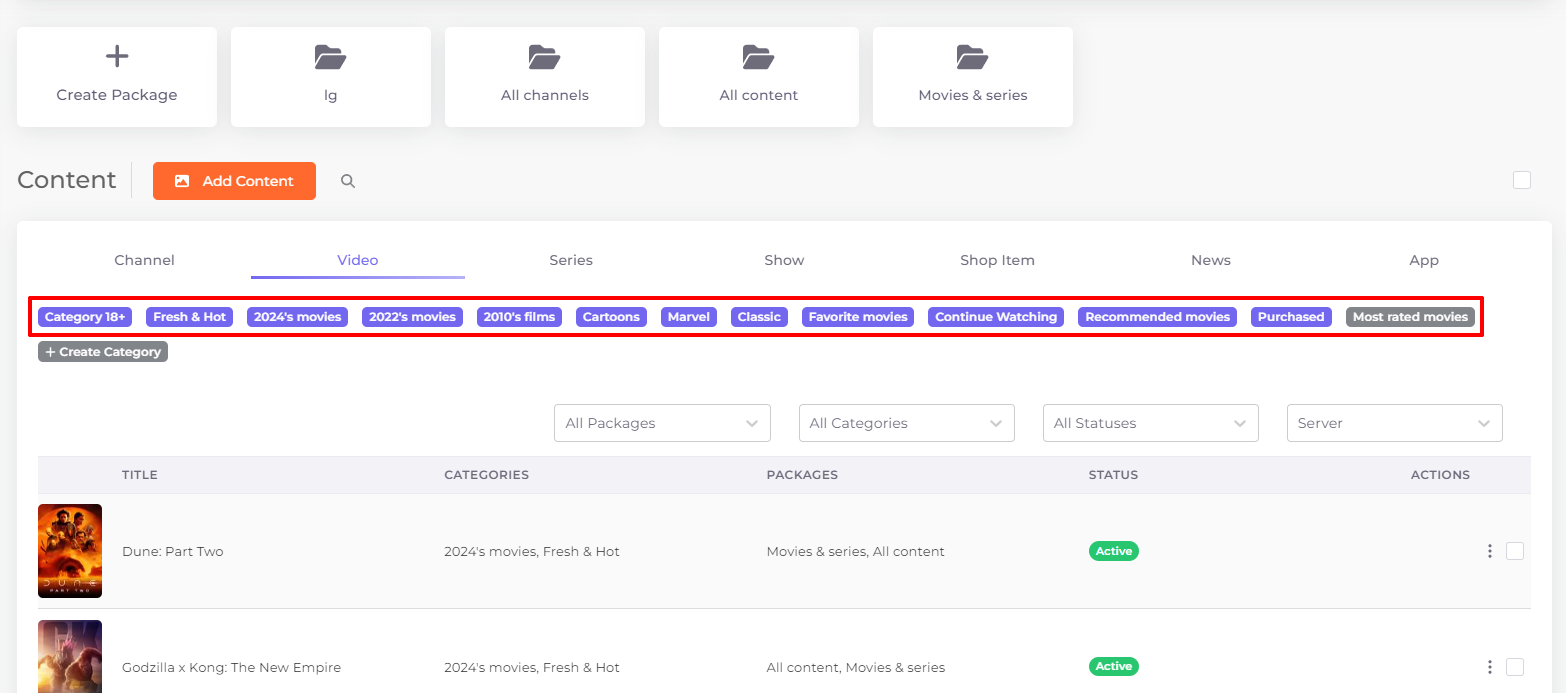
All tab categories are available at the top of each tab:
To edit or delete a category, click on its name.
If a category has been created in Regular mode, it can be selected when adding or editing content later. In addition, in this case, by clicking on the category in the Content tab, you can see and edit the list of content in the category:
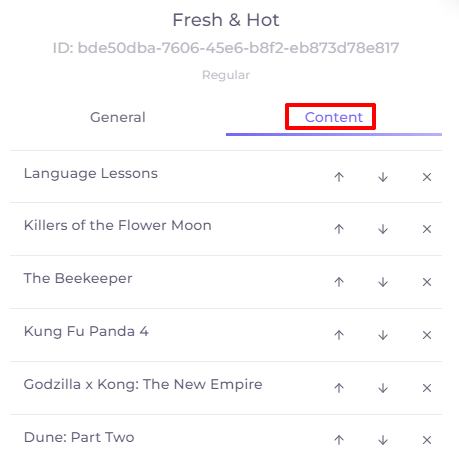
Use the arrows  to the right of the content name to change the order of the content in the category. By clicking on the cross
  you can remove content from the category.
New content will be added to the end of the list in the category by default.
To see what the categories look like in subscriber apps, follow these links:
Filters
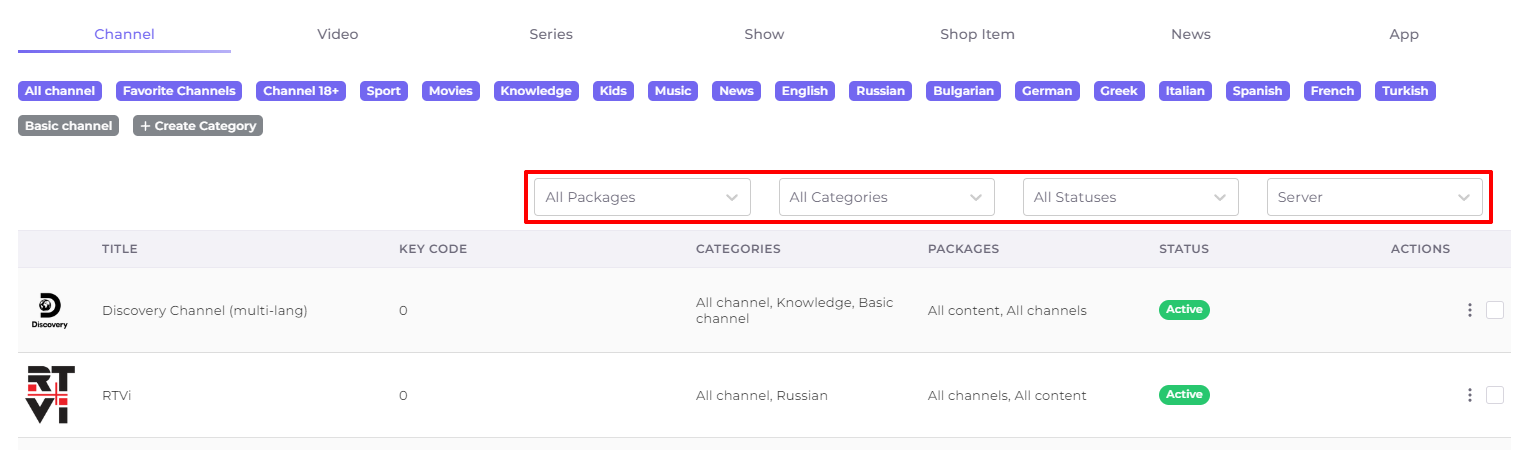
Each tab contains filters. There are four of them: - By packages - By categories - By statuses - By servers (the filter is available only on the Channel, Video, Series and Show tabs)
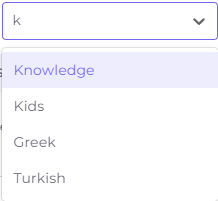
To quickly find the desired list item in the filter, start typing the name of that item:
Contents of the content table
The content on each tab is presented as a table with the following columns:
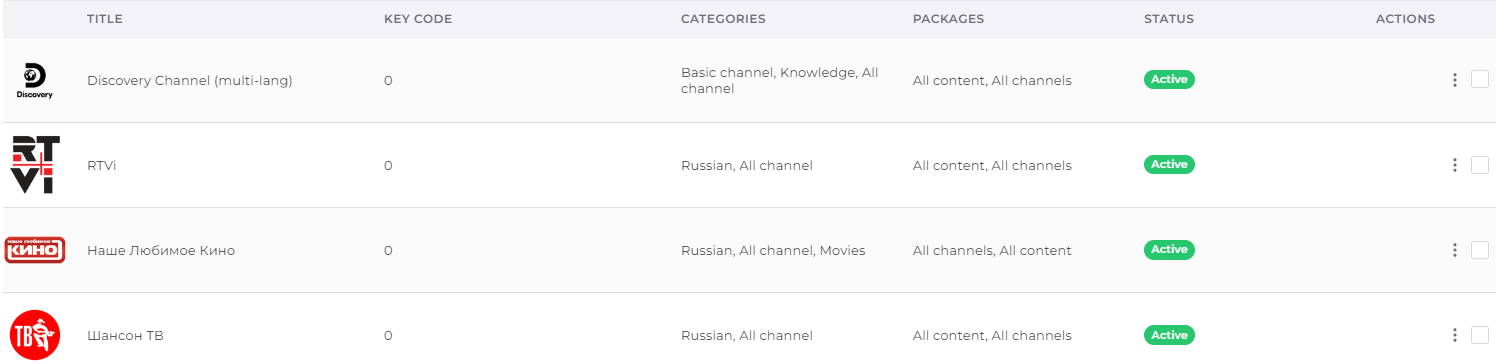
- Title - the name of the content unit (channel, video, product, etc.).
- Key code (present only on the “Channel” tab) - this is the channel number assigned by the operator for quick navigation through channels in the set-top box and Smart TV application. This number is located next to the channel name and can be entered from the remote control to switch to the selected channel.
- Categories - one or more categories assigned to the content.
- Packages - one or more packages assigned to the content.
- Status - an indicator of content publication. It can be either active (content is published) or “Not Published”.
- Actions - a set of options for actions on individual content, see the next section for details.
At the bottom of the page there is an option to select the number of entries on one page (1), pagination (2) and a button to return to the beginning of the page (3).

Actions with Content
The last column of the content table contains a set of options for actions with a particular content name (channel, video, series, etc.). It is activated by clicking on the actions menu in the content row:
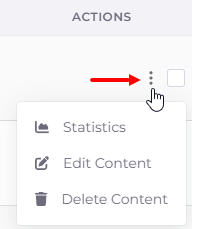
Statistics - opens statistics for the selected content unit:

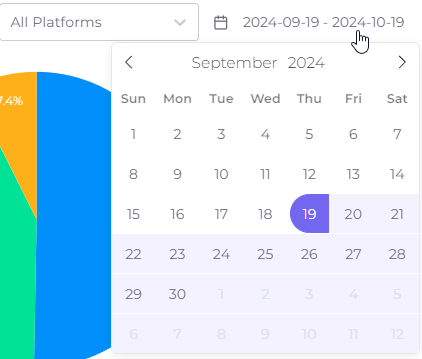
Statistics are presented as a line graph and as a pie chart to the right of this graph. The line graph shows the dynamics of content viewing over the last month until today in views or viewing duration, depending on the selected mode. The pie chart shows the distribution of this data across the platforms on which the Telebreeze application was used. In the upper right part of the statistics window there is a filter by platform, which allows you to see the viewing graph on a particular platform:
To the right of this filter is the period of report generation, it can be changed by clicking on it:
Separately, you can view statistics of a series/show season, statistics of a separate episode (series) of a series/show, statistics of a channel source or media content source.
Edit Content - opens the content editing window. You can also edit content by clicking on its icon.
We have covered the options for editing content (channel, media, shop item, news, app) in the related articles.
Delete content - irrevocably deletes the selected piece of content. You will not be able to undo this action!
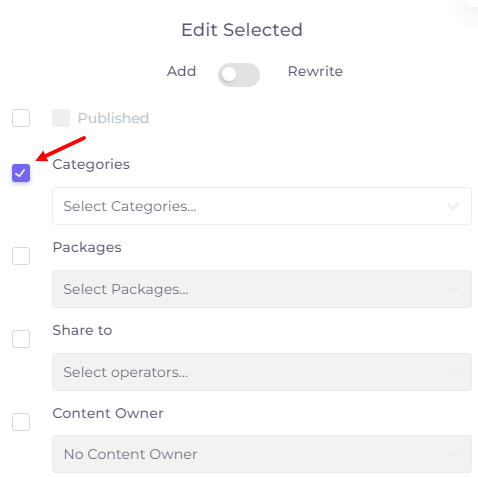
Mass Actions
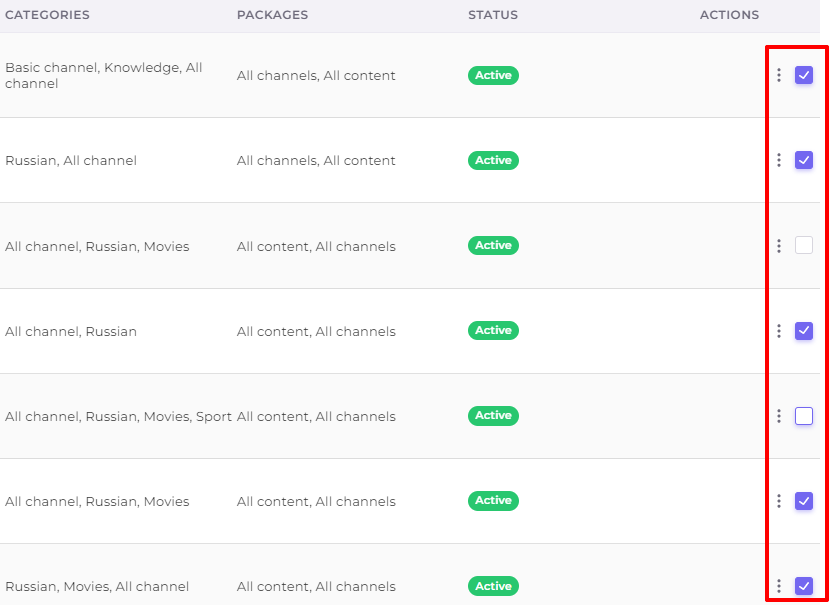
In the upper right corner of the table is a set of options for mass actions. Checking a checkbox in this set highlights all content on the page:
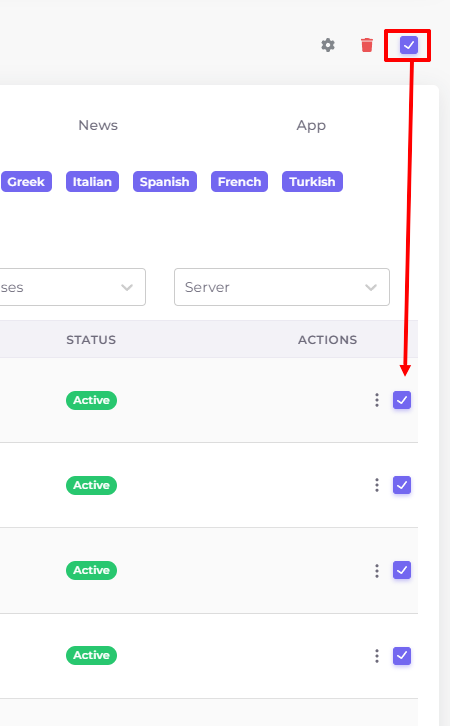
If you want to perform actions on individual rows, you can uncheck some of the rows:
After selecting rows, they can be deleted with the trash can icon (1) or edited with the gear icon (2)
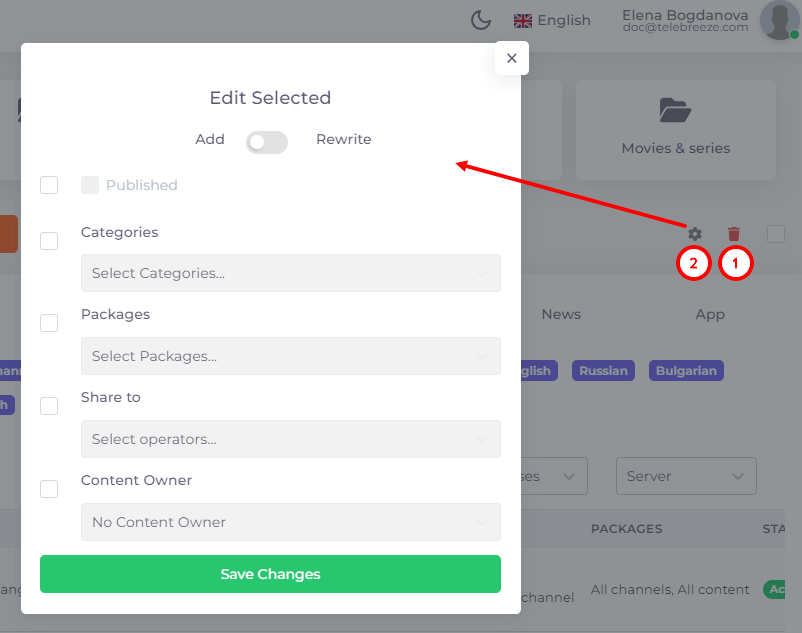
Two modes are available in the editing window: "Add" and "Rewrite". The "Add" mode allows you to add the specified parameters to existing parameters. The "Rewrite" mode removes existing parameters and adds new ones instead. For example, if you want to add a new category to existing content along with their existing categories, select "Add". And if you want to move content to a new category from an old category, select "Rewrite". To change a setting, select the checkbox next to it: