Localization
In the "Localization" section of the operator's menu you can add the possibility of using applications in different languages to the subscriber's interface. The subscriber selects the application language in his/her profile settings.
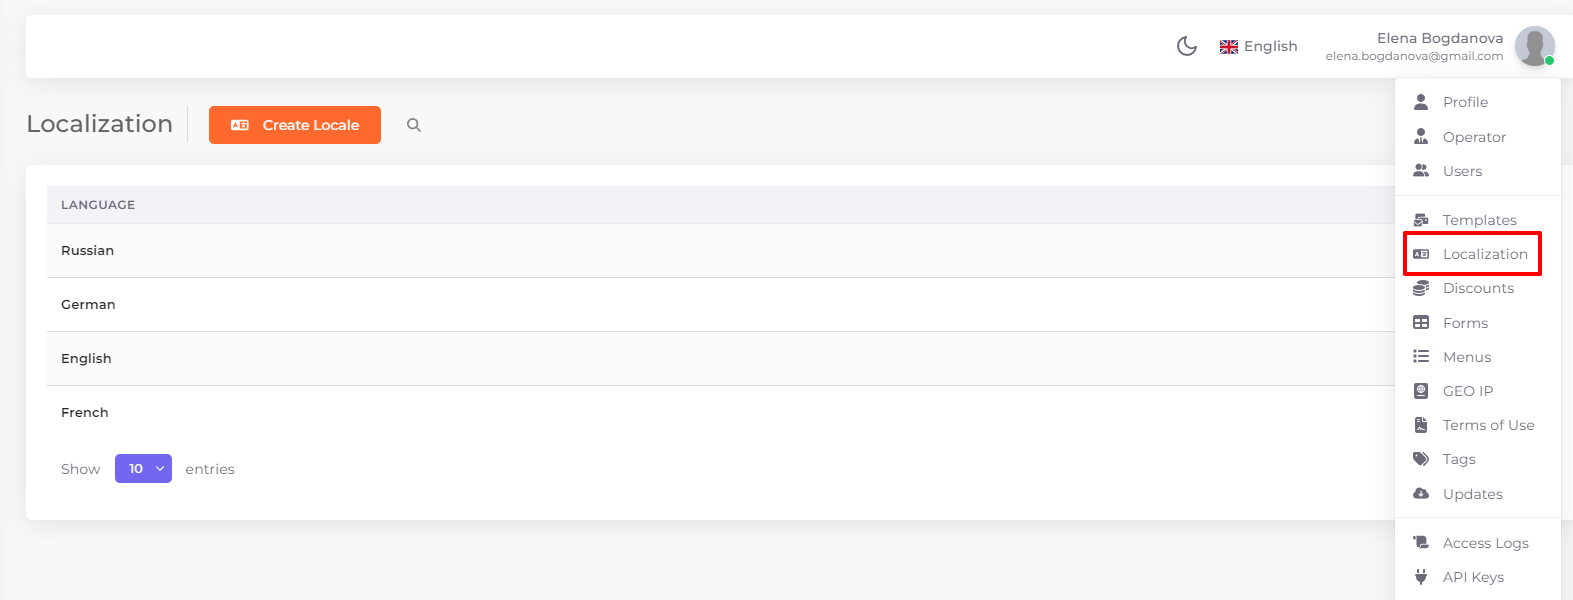
To go to the "Localization" section, click on your name and select the appropriate item in the drop-down list:
By default, only English is available. You can add any other languages from a large list. A block of data translated into a particular language is called a locale.
Adding a locale
A locale is a set of translations of the data used by a subscriber. You can add a locale in two ways: translate all the data manually or import it from a file.
Click on  to add a new locale.
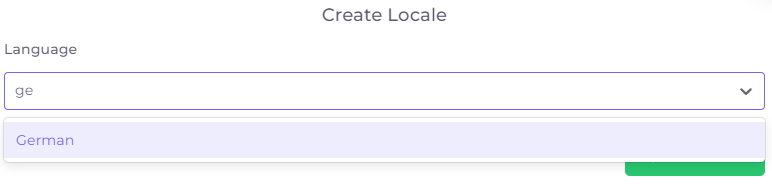
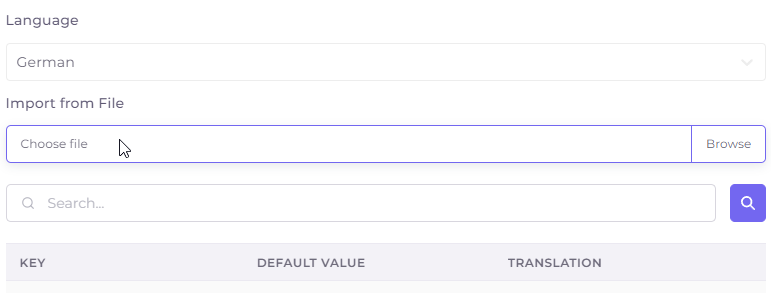
Then select a language. To quickly find the desired language, start typing its name in English.
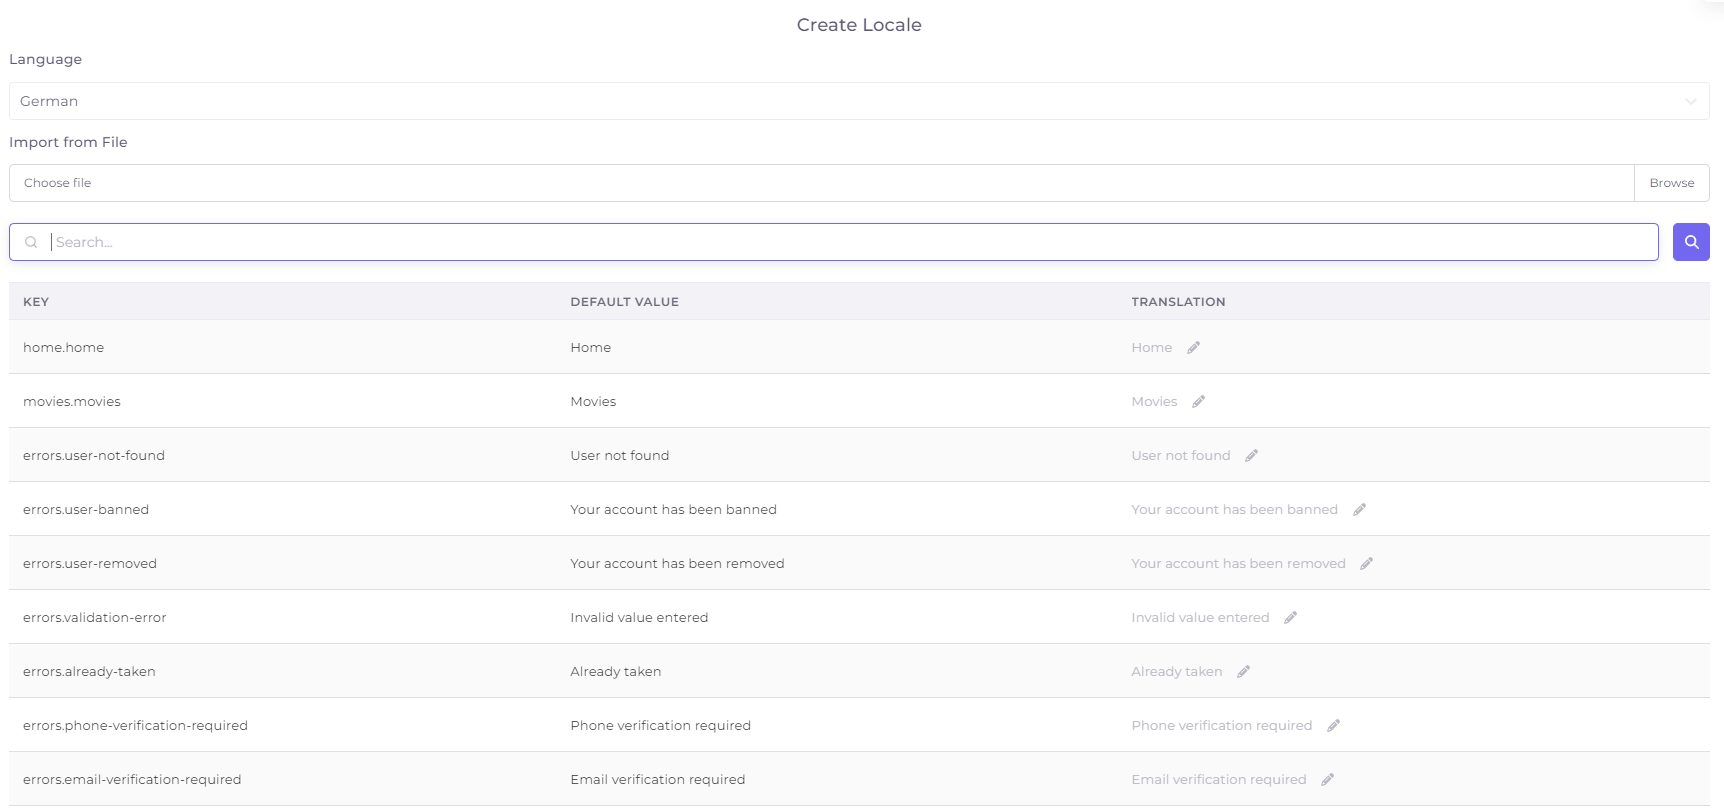
After selecting a language, the remaining fields for adding a locale will open.
To import locale data, the steps are as follows.
- Create a locale.
- Export it to a file using the button
 at the bottom of the locale editing window (you can call it to the right of the locale using the actions menu). A file with a list of parameters in json format will be exported.
 - Edit the exported file.
- Upload the edited file to the system. To do this, open the locale editing window again and click on the special field:
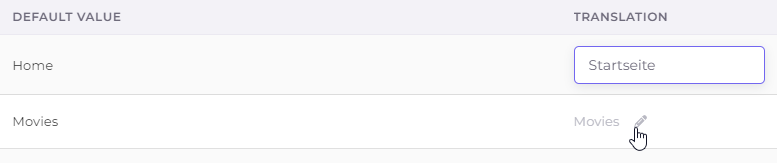
To fill in the data manually, click alternately on the parameter in the last column and enter your variant:
To quickly find the desired parameter, start typing its key or default value, and then click the search button:
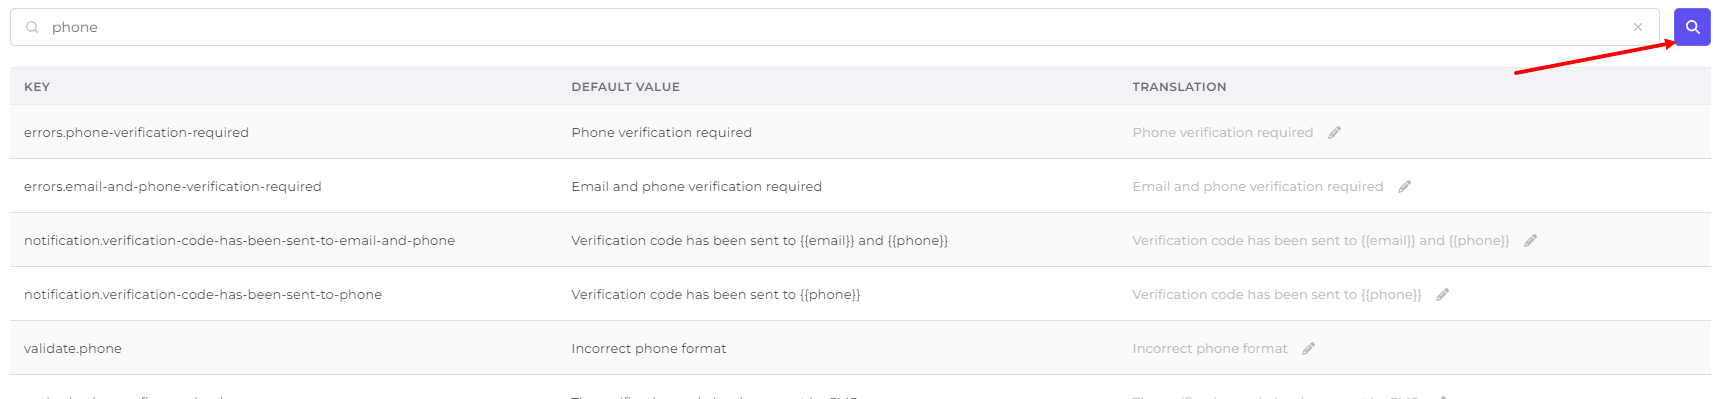
To clear your search, click the cross on the right side of the search field.
At the bottom of the page there is an option to select the number of entries on one page (1) and pagination (2).

Below that is the submit button  , which saves the locale and changes to it.
List of Locales and Actions with Locales
The list of locales is presented as a table with two columns: language name and actions.
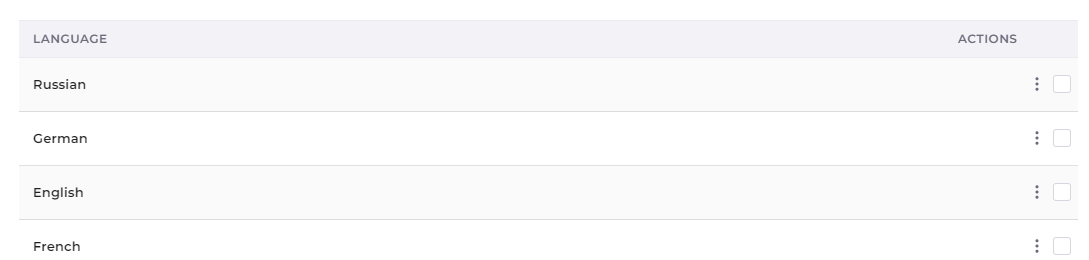
The action menu to the right of the language can be used to open the locale editing window or to delete a locale:
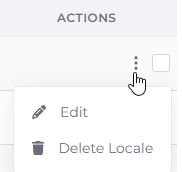
Deleting a locale cannot be undone!
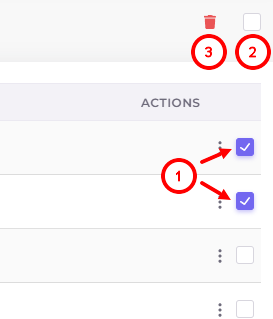
To delete locales in bulk, select the checkbox for individual locales (1) or all locales (2) and click the trash can icon (3):
At the bottom of the page there is an option to select the number of entries on one page (1), pagination (2) and a button to return to the beginning of the page (3).

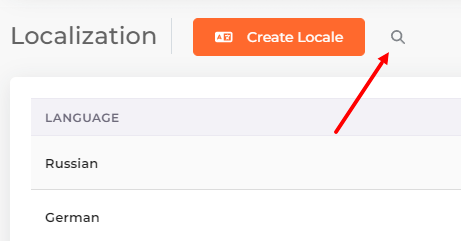
Above the list of locales there is a button for quick search of the desired locale by language name: