Subscribers
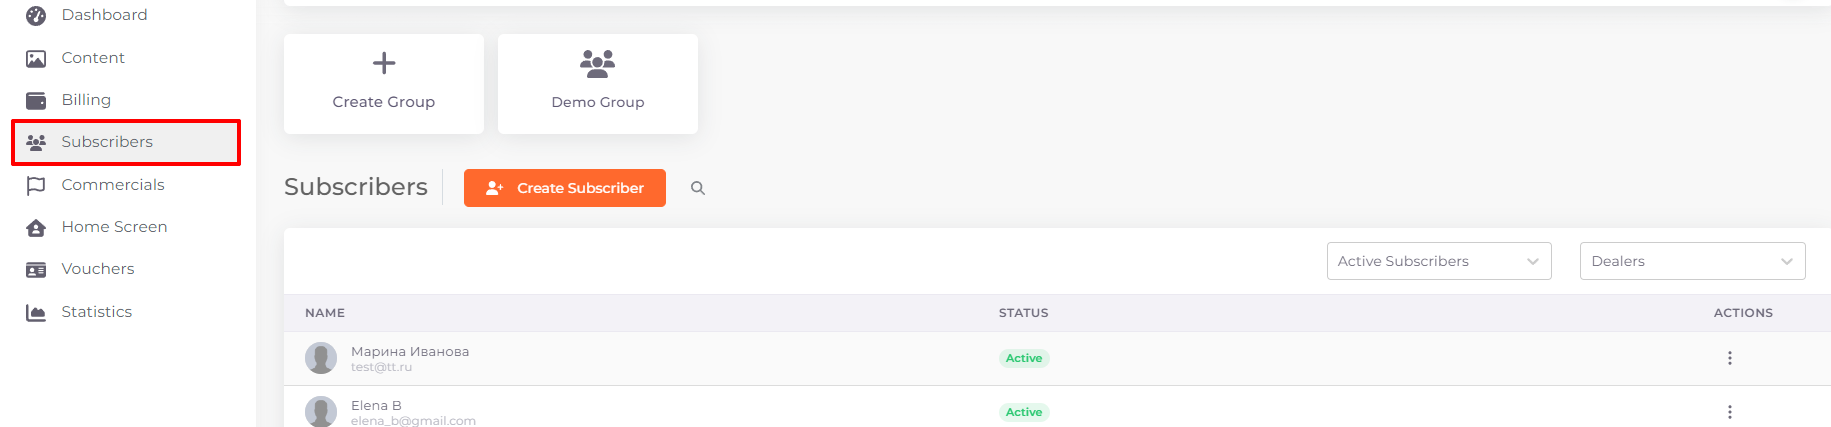
The "Subscribers" section, which can be accessed from the left menu, contains a list of subscribers. Here you can add and edit subscriber groups for targeting tariff plans, as well as add subscribers, edit their profile and view information about them.
Groups
Subscribers can be divided into groups to assign them different tariff plans and discounts.
To add a group, click on “Create Group”. To edit a group, click on its name.

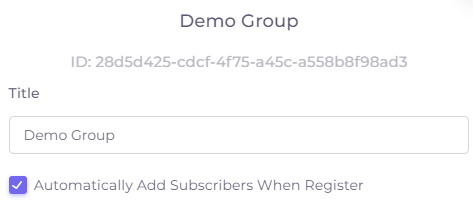
In the Create/Edit Subscriber Group window you can set/change the name of the group, as well as set the setting to add self-registered subscribers to this group by default. For this setting, check the "Automatically Add Subscribers When Register" checkbox.
To delete a group, click on its name, and then on  .
.
Deleting a group cannot be undone!
Creating and Editing Subscribers Manually
In the “Subscribers” section, you can create new subscriber cards and edit existing subscribers.
To create a new subscriber, click 
To edit an existing subscriber, click on its icon.
General Settings
The window of subscriber creation/editing (general settings) looks like this:
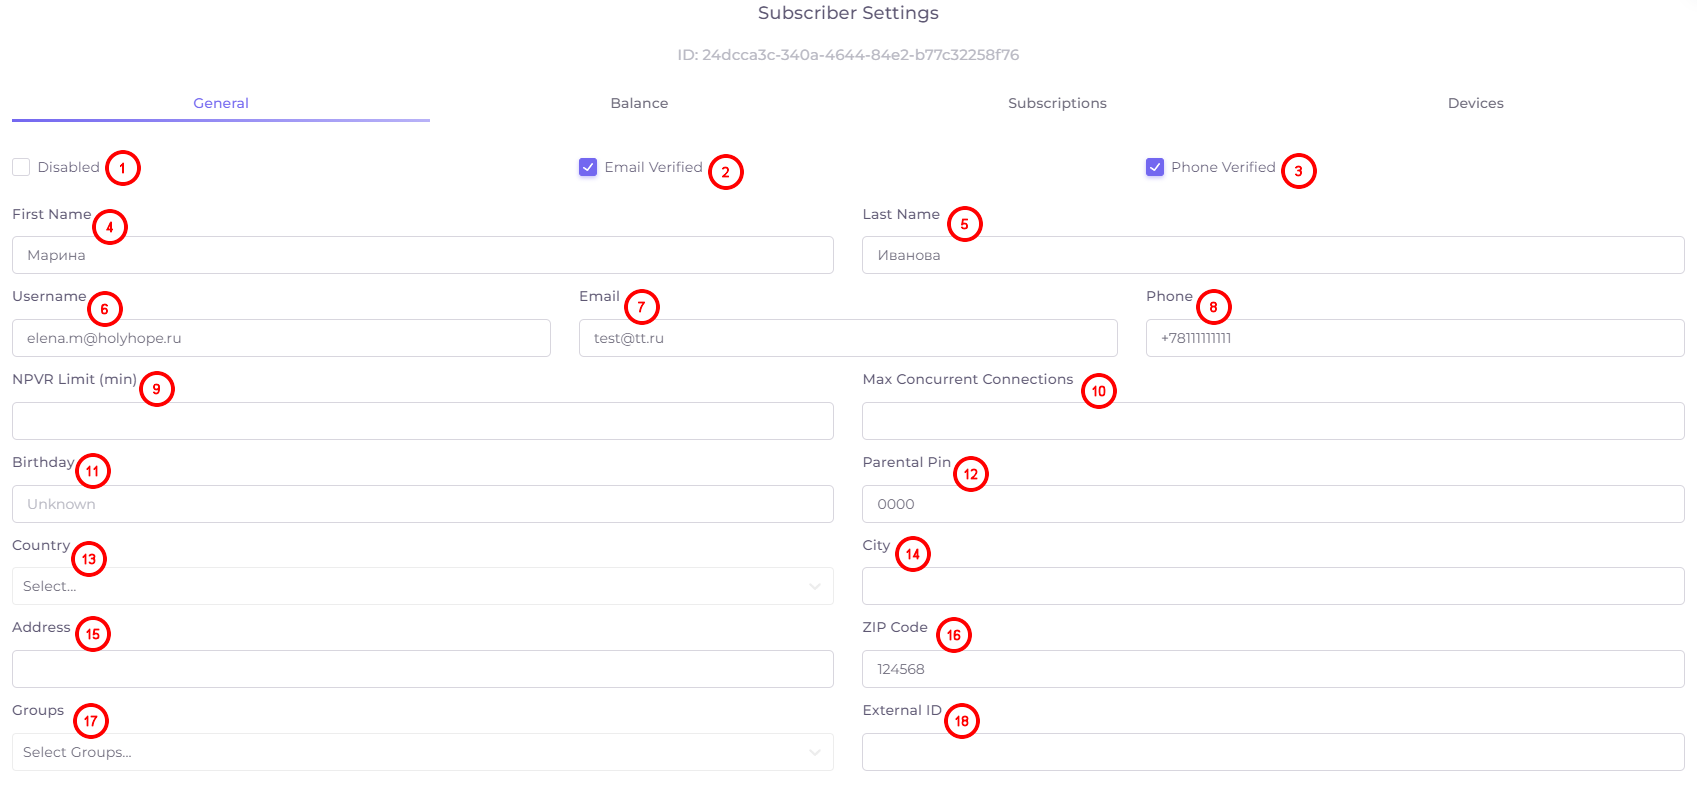
- The “Disabled” checkbox is selected if you want to prohibit the subscriber from using your services.
- Email Verified.
- Phone Verified. Confirmation of the email address and phone number is usually done on the subscriber's side, but in some cases the operator can confirm the address and phone number manually. Without address and phone confirmation, the subscriber will not be active.
- First Name of the subscriber.
- Last Name of the subscriber.
- The username created by user and used to log in to the application.
- The subscriber's email address.
- The subscriber's phone number.
- NPVR limit - in this field you can set the available number of minutes for content recording.
- Max Concurrent Connections - the number of devices/applications from which you can log in simultaneously using one subscriber's login and password.
- Subscriber's birthday.
- Parental pin - a code for access to hidden content.
- Subscriber's country.
- Subscriber's city.
- The address of the subscriber.
- Subscriber's zip code.
- The groups to which the subscriber belongs.
- The external ID, or import ID, is added when importing the client base. It does not need to be added manually.
The Balance, Subscriptions, and Devices tabs are added to the Edit Subscriber window:

Balance
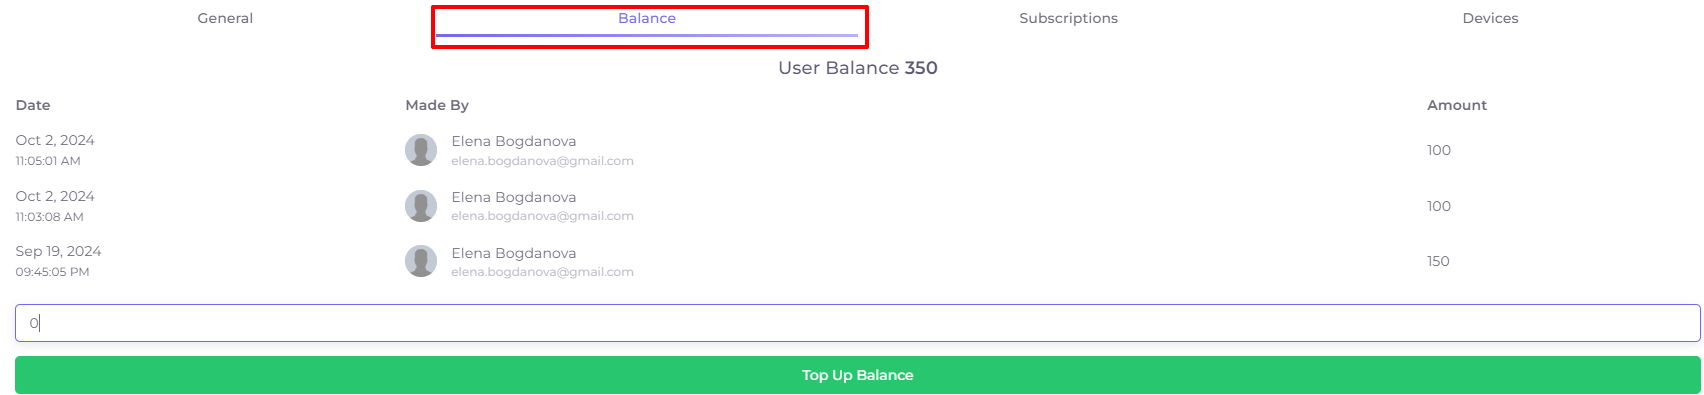
On the “Balance” tab you can see the subscriber's current balance - unused funds on the personal account. Below you can see the list of all balance top-ups for the entire period of the user's existence (date, time, who added and amount).
To manually top up the user's balance, enter the balance amount in the field and press “Top Up Balance”.
Read about how balance works in the subscriber app here.
Subscriptions
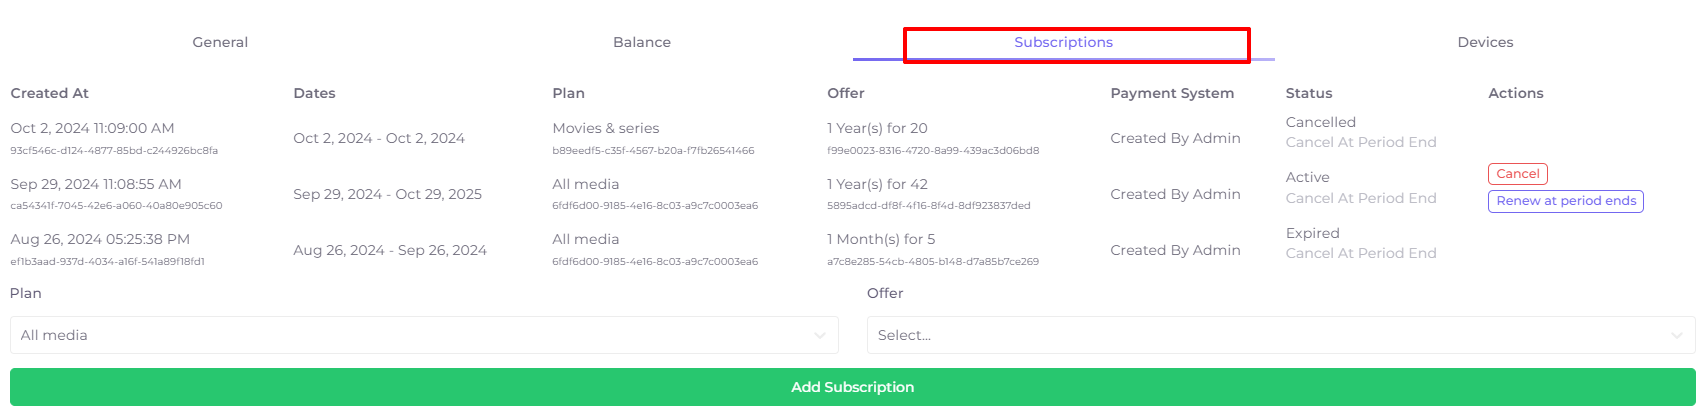
On this tab you can see, add or delete the user's content subscriptions. A subscription is a tariff plan and offer connected from a certain date and allowing the subscriber to use a set of content included in the tariff plan for a certain period of time. All subscription parameters are configured in the Billing section.
Subscription is added either by the subscriber himself in his personal cabinet or by the operator.
The table of subscriptions consists of the following columns.
- Created At - date and time when the subscription was added to the subscriber.
- Dates - initial and final validity period
- Plan - a tariff plan selected for subscription.
- Offer - a separate offer within the tariff.
- Payment system - service through which the subscription payment was made.
- Status - current subscription status.
- Actions - a set of actions with the subscription.
The set of actions can include the following options:
 - cancelling the subscription from the subscriber.
 - automatic renewal of the subscription after the end of the period for the period term.
 - cancel automatic renewal at the end of the period (the subscription will expire at the end of the period specified in the “Dates” column).
Devices
This tab allows the subscriber to restrict the use of content to an individual device. For example, the user will only be able to see content on the set-top box provided to him.
The tab contains a list of devices and an option to add a device.

The device list contains the unique id of the device and the name of its operating system. On the right side of the device row there are buttons to edit  and delete
  the device.
The device id can later be used to authorize subscribers in applications, if you want to limit subscriber access to only one personalized device. The setting for this option can be found in the operator menu in the player settings.
To add a device, click “Add Device.” A window will open where you can specify the id of the device and select its operating system.
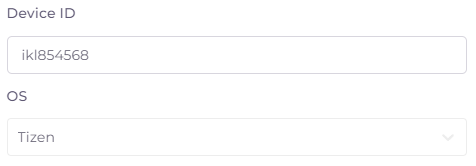
After filling in the window, click  - the device will appear in the list.
The editing window looks similar to this.
Subscriber List
To the right of the subscriber creation button is the search button:
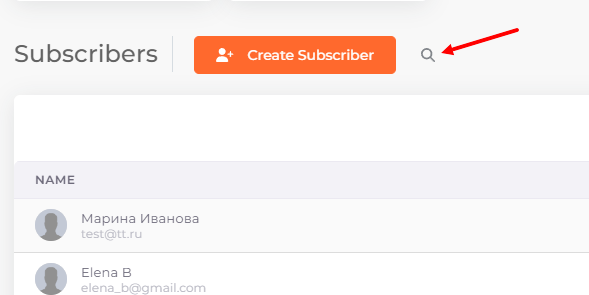
To quickly find the desired subscriber, click on  and start entering data. Then press on
  again to search.
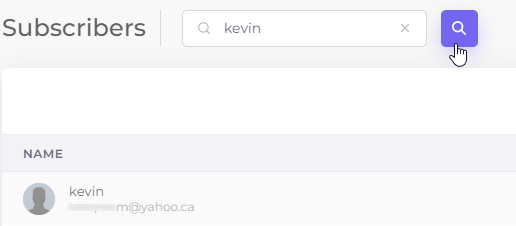
The following parameters from the client card are searched:
- First Name
- Last Name
- Username
- Phone
Filters are located above the subscribers table.

By default, only active subscribers are shown. But if desired, you can display other categories of subscribers in the table. Let's tell you more about these types of subscribers.
- Active subscribers. Here you can find subscribers with the statuses “Active”, “Email verification”, “Phone number verification”. Active subscribers already have access to the platform, the others will have it after the verification of the corresponding contact.
- Disabled (blocked) subscribers. You can block a subscriber in the window of editing his/her card by checking the “Disabled” checkbox. The subscriber's personal data will be saved, but he/she will not be able to authorize in his/her account. The subscriber can be unblocked at any time.
- Waiting for removing - subscribers who have used the account removal option, but the account has not yet been removed and can be restored by the operator. You can set the time for complete account removal in the Operator Menu.
To restore a subscriber's account, use the action menu (three dots) at the end of its row in the “Actions” column. - Deleted subscribers. This section contains only subscribers after the status “Waiting for removing” after the time of waiting for removal has expired. The user's card is depersonalized, all personal data is deleted from it, but statistical information about purchases, views, balance top-up, etc. remains.
Dealers - search for subscribers registered with a certain dealer. To quickly find a dealer, start typing his name.
Subscribers table
The list of subscribers is presented in the form of a table with the following columns:

- Name - name and email of the subscriber.
- Status - subscriber's status (active, phone and email verification, disabled, removed).
- Actions - menu of actions with the subscriber.
At the bottom of the page there is an option to select the number of entries on one page (1), pagination (2) and a button to return to the beginning of the page (3).

Actions with a subscriber
To open the action menu, find the subscriber in the table using filters or search, and then click on the action menu - the three vertical dots in the “Actions” column. The action menu looks like this:
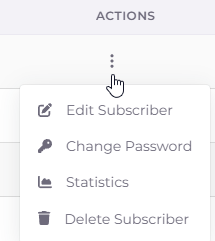
- Edit Subscriber - click here to open the editing window, see details above.
-
Change Password - here you can set a new password to enter the subscriber's personal cabinet. Click on this item to open this window:
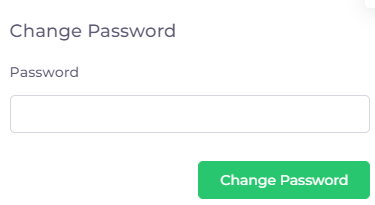
Enter a new password and save. -
Statistics of content viewing by an individual subscriber.
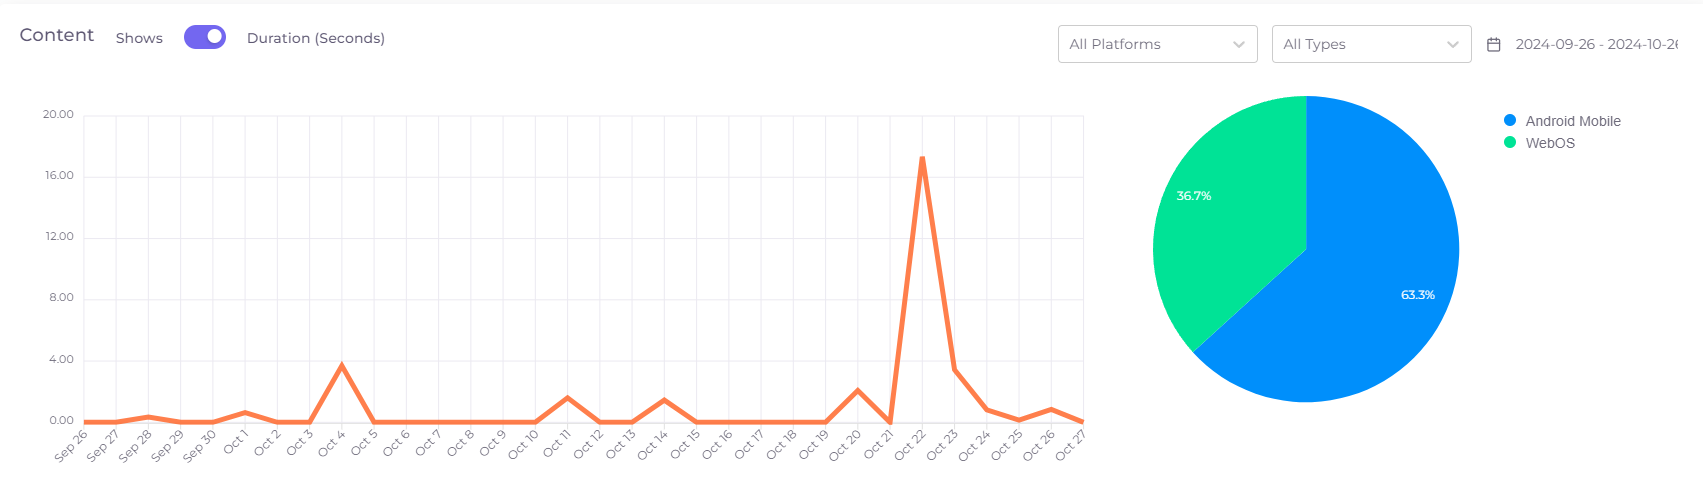
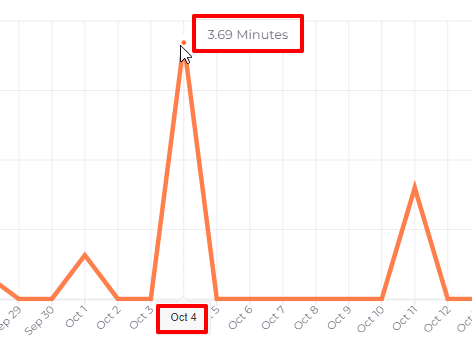
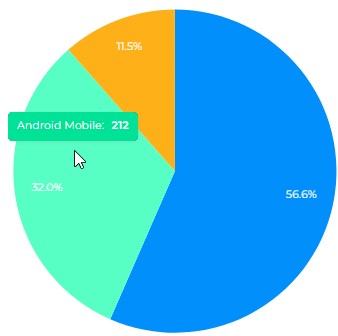
Statistics are presented as a line graph and as a pie chart to the right of this graph. The line graph shows the dynamics of content viewing over the last month until today in views or viewing duration, depending on the selected mode. The pie chart shows the distribution of this data across the platforms on which the Telebreeze app was used. In the upper right part of the statistics window, there are filters:
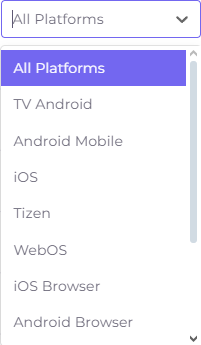
Filter by platform, which allows you to see the viewing graph on an individual platform:
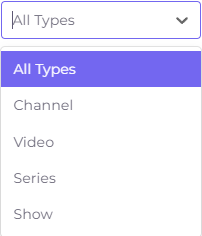
A filter by content type that allows you to see the viewing schedule for an individual content type:
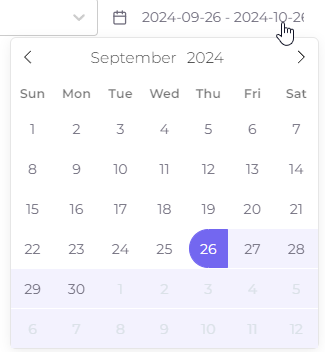
To the right of this filter there is the period of report generation, it can be changed by clicking on it:
Hovering the cursor over a graph point or chart sector will show the exact value at the point/sector:
- Delete Subscriber - this action puts the subscriber in the “Removed” status and blocks his access to the platform.
Deleting a subscriber cannot be canceled!
After manual deletion, all personal data is deleted in the subscriber's card, but the card itself remains in the “Deleted users” list to save statistical and payment data.