Users and roles
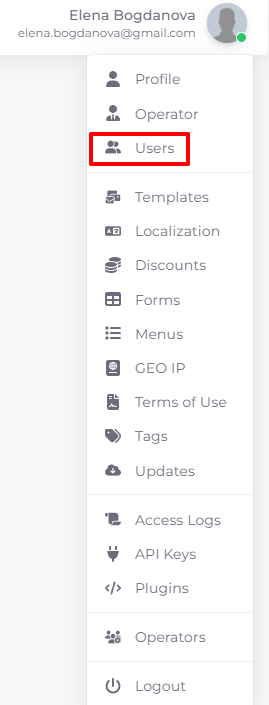
From the operator menu, clicking on your name at the top right takes you to the "Users" section where you can create and edit users and their roles:
Each user of the Telebreeze platform has a role. Each role has specific permissions: what the user can do and see in the system, and what the user cannot. Thus, you can give different users different permissions and restrictions.
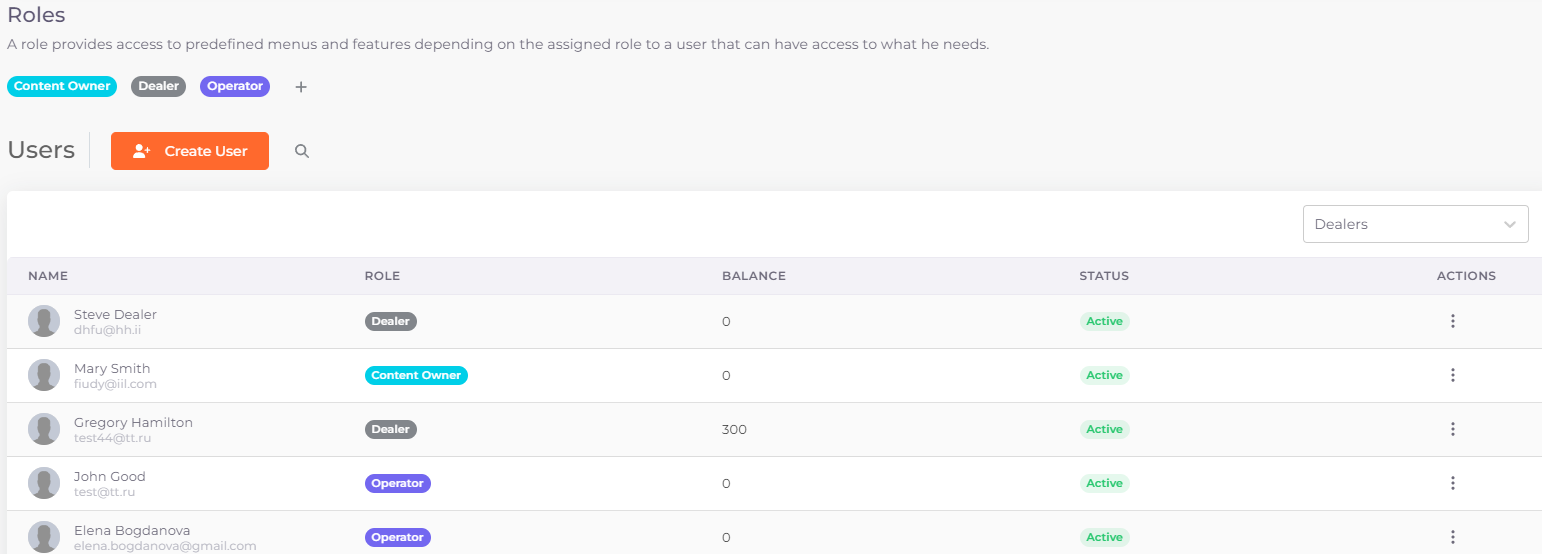
The section itself looks like this:
Creating and Editing role
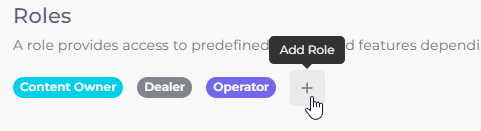
To create a role, click the plus sign next to the list of roles:
To edit a role, remove it or add permissions to it, click on its name.
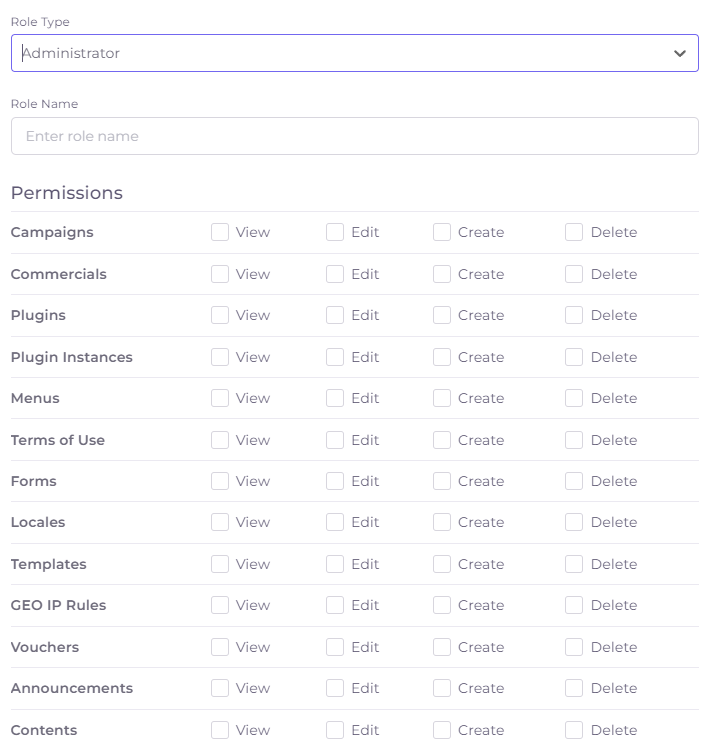
A role is always assigned one of three types:
- Administrator is the role with the most capabilities. Administrators can have access to all functions of the system.
- Dealer - a separate role for affiliates who sell your services.
- Content Owner - a user who is responsible for content and its monetization.
Role type can be set at the stage of role creation. It cannot be changed for an existing role.
In the role creation/editing window, there is also a field for the role name. Below is a list of permissions, which are set by checking the checkboxes next to them:
Creating User
To create a user, click on the corresponding button  .
.
The following fields are available for filling in the user creation window:
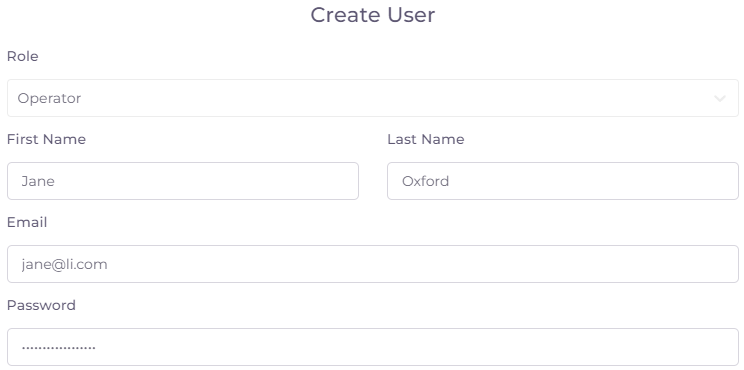
- User role that carries a specific set of permissions. We described how to create and edit roles in the previous section.*
- First and last name of the user to be added.
- Email - user's login with which he/she will be authorized in the system. Besides, various notifications can be sent to this email.
- Password with which the user will be logged into the system.
*Role of the user cannot be changed after the user is added!
After saving the data, the user will be able to log in to the system. Separately in the operator menu in the “Templates” section you can create a template for automatic sending of authorization data to the user's email.
List of users
The list of all users is presented in the form of a table with the following columns:

- Name - the user's first and last name and e-mail.
- The user's Role, which provides him/her with a specified set of permissions.
- Dealer's balance, which can be replenished in the user action menu. The balance can be shared with subscribers or a subscription can be assigned from it.
- User status.
- Actions - menu of actions with the user card, we will tell you about them below.
At the bottom of the page there is an option to select the number of entries on one page (1), pagination (2) and a button to return to the beginning of the page (3).

At the top right above the table is a filter by dealer:
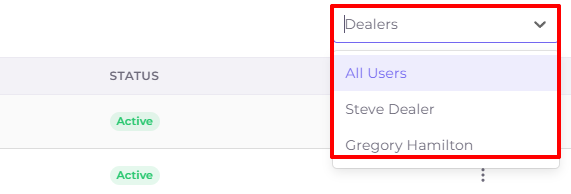
It allows you to filter sub-dealers by dealer name.
Actions with users
You can open the actions menu in the “Actions” column on the right side of the user table:
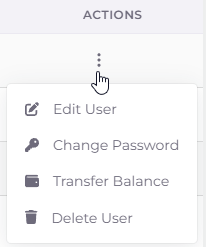
- Edit User - opens a window with editable data: first name, last name and email, which is the login.
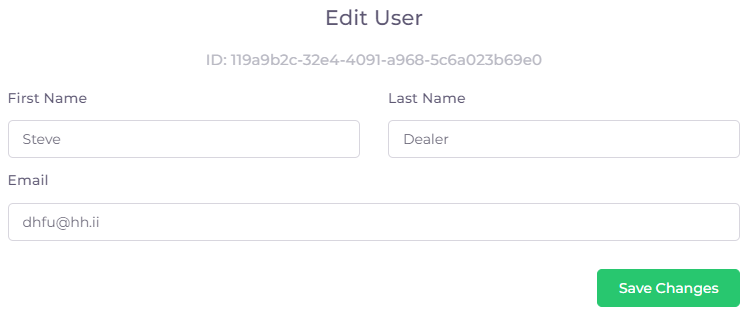
The same window can be opened by clicking on the username in the list.
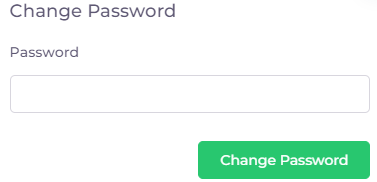
- Change Password - used to reset a new password for the user.
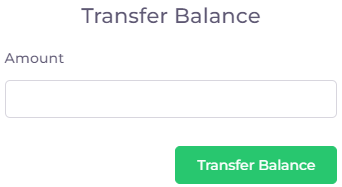
- Transfer Balance (available only for users with the "Dealer" role type) - add funds to the dealer's balance.
- Delete User - irrevocably deletes the user account.